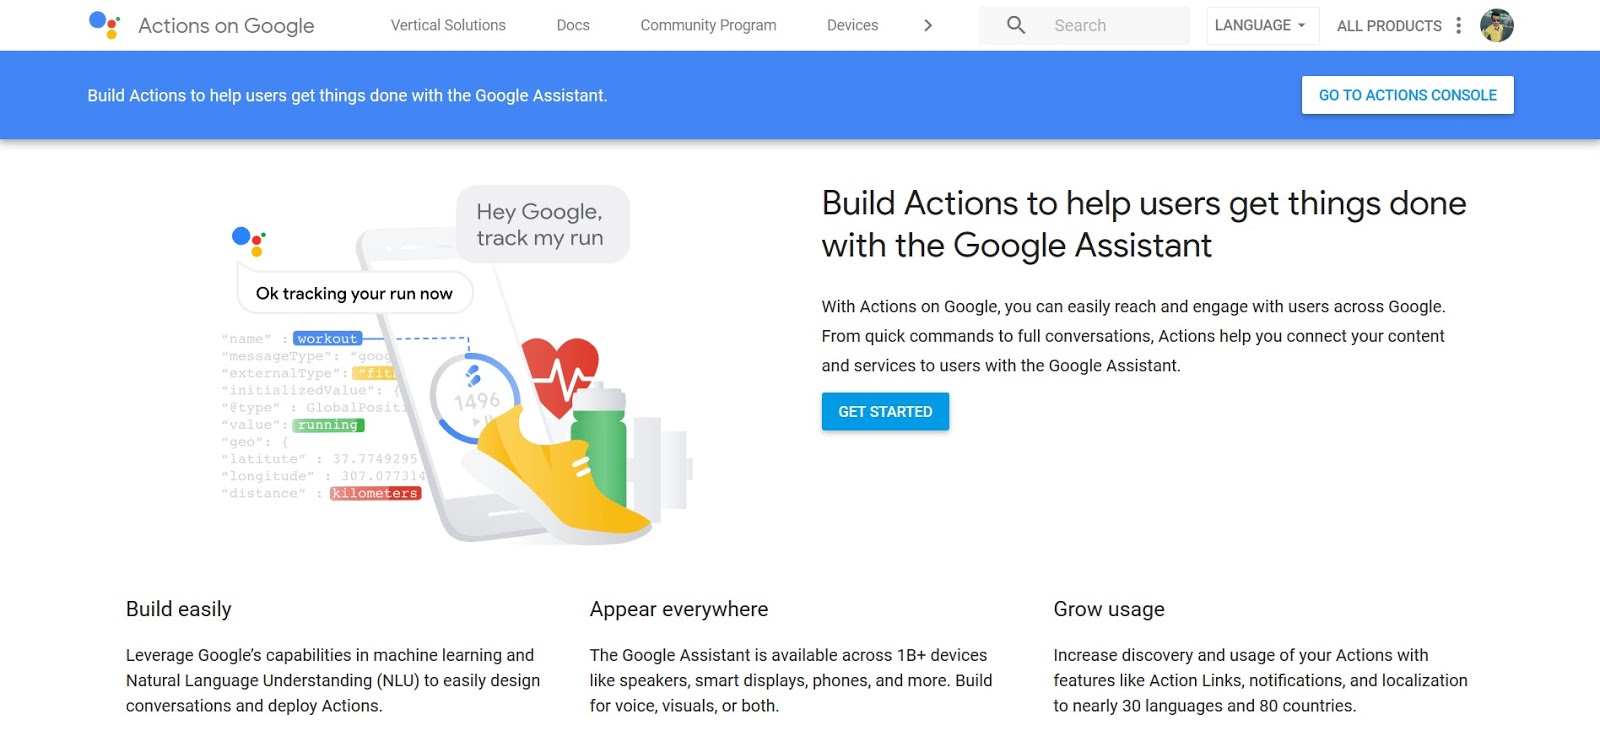
Since the time when Google Assistant was launched, I was intrigued by the thought that a machine would be able to talk to us. But that was a long time back, now when we use it quite often I thought why not make one of them. Firstly I wasn't so talented to make a talking assistant of my own, so had to use the Actions on Google to make it happen.
So I visited the Actions on Google page.
What is an Action?
In the simplest terms, an Action defines support for a user request (represented as an intent) and the corresponding fulfillment that can carry out the request. You can build Actions that fulfill requests with web content, Android apps, or with experiences built specifically for the Assistant.
So I visited the Actions on Google page.

Then see the "Get Started" button I clicked it. I was redirected to the Documentation Page. There it was written all kinds of ways to get started.
Being a lazy person, although I got through the whole documentation, I decided to start off with the templates, being the basic. So come back to the Actions on Google page and then went on to the Console page. There I started off by making a new project and then going on to choose my preferred way of making my bot.
So I had already begun my journey of making my Action on Google. Now the instructions begin.
Under More options near the bottom of the page, click on Templates.

Go on to the Trivia option.

In the Personality section, select one of the available personality options and click Next.
Use the players below to hear audio samples of each personality. Note that not all personalities are currently available in every language.

In the Personality section, select one of the available personality options and click Next.
Use the players below to hear audio samples of each personality. Note that not all personalities are currently available in every language.
"Regal Queen" or "Mr. Montgomery" or "Beeps the Robot"
Each personality has different spoken prompts and sound effects that users hear as they play the game.
In the Fill in your content section, click GET STARTED.
In the prompt, click Trivia Template, which opens a new tab.

Click Make a copy.

Update the Questions & Answers tab of your sheet copy with your own questions, answers, and hints. Try adding fun follow-ups that give users extra facts about the answer.

Update the Configuration tab of the sheet with the name of your Action. You can further customize your game by optionally assigning a difficulty and/or category to each question, and provide custom sounds via audio URLs. For more information on custom configuration options, see the configuration parameters section.
When you finish filling out the sheet, go back to the Actions Console and click NEXT.
Copy and paste your Google Sheet's URL into the text field and click UPLOAD.

Click CREATE APP. A notification that says Created will show after a minute or so.

Following this instruction, you'll be able to create the App. But there are some things which are not taught to us which you'll need to do and that is writing a "Privacy Policy" and also a "Terms and Condition" page. For me, that was the most unexpected and unpleasurable thing. So I went on to google and searched for some templates. I got one, edited it and then made it mine. Simple as that. Gave it for production and waited for 2-3 days until it was approved. It was rejected the first couple of times, but after making some changes it was finally published.
My next target was set soon to publish my App in two languages. I choose to make it in Spanish. So it was the same procedure, just go to the language column and change it to Spanish and make the template in Spanish and also privacy policy and terms and conditions too in Spanish. Then gave it for production and got it approved.
The interesting part is yet to come. Now you need users to try your App. The first couple of days just spread it among my friends via Whatsapp and Facebook status. The English counterpart was doing good by then but the Spanish part was not getting users. So now I used my topic of App to spread it. It was a trivia about International Football. So I got to some English and Spanish Football pages and requested them to use it and promote it. Some did, most didn't, but my App was starting to get some recognition. I even tried getting into some Spanish Whatsapp community groups and requested them to try it (Let me tell you that I can't even speak a word in Spanish, all thanks to Google Translator). From 20 monthly conversations, it rose to a peak of 105 monthly conversations.
This was how I made it happen. Sometimes I thought that would anyone ever try it, but ultimately I made it happen. So this was my story about my Actions on Google Journey. Tell me yours in the comment box down below.
Lastly, try out two on my Actions "International World Football Quiz" and "Biology Test".
Also the Spanish part for any Spanish audience "Concurso Internacional de fútbol Mundial"
Hmmm........Good good!
ReplyDeleteThanks.
DeleteDid you achieved any 1 of Milestone for this??
ReplyDeleteYes, I have achieved the "Taking your App Global Pin" milestone.
DeleteGreat Job!!!!
ReplyDelete